Don't you just love that embossed cover? After cutting it out of Peaches and Cream cards tock I embossed it, then I inked it with Rustic Rose ink. So pretty!
Underneath the cardstock is a sturdy cover cut from paper board. The inside is covered with scrapbook paper. Would you like to know how I did it? Here's a video tutorial:
What you will need for the Peaches and Cream notebook:
- Sizzix - Planner Pages and More Collection - Bigz L Die - Pocket Traveler's Notebook*
- Sizzix - Planner Pages and More Collection - Thinlits Die - Traveler's Notebook Inserts*
- Paper board - a cereal box will work, but I discovered that the box my cat's food comes in is a little sturdier.
- Peaches and Cream card stock*
- Rustic Rose Ink Pad*)
- 12 x 12 sheet of coordinating scrapbook paper.
- Rose Corner embossing folder by Hot off the Press (Discontinued)
- Journey Craft Glue*
- 1 yard of elastic cording (or you could get fancy with Momenta - The Explorer Journal Collection - Journal Elastics*)
- Sizzix - Planner Pages and More Collection - Bigz L Die - Pocket Traveler's Notebook*
- Sizzix - Planner Pages and More Collection - Thinlits Die - Traveler's Notebook Inserts*
- Sizzix - Planner Pages and More Collection - Die with Stamp Set - Grace for Today*
- Paper board - a cereal box will work, but I discovered that the box my cat's food comes in is a little sturdier.
- Limeade Splash cardstock*
- Coordinating scrapbook paper.
- Journey Craft Glue*
- 1 yard of elastic cording (or you could get fancy with Momenta - The Explorer Journal Collection - Journal Elastics*)
- Inka Gold - Silver
- Pretty Plaid Embossing Folder*
Cutting it all out
- Cut two covers from paper board
- Cut two covers, two pockets, two tags and one pen holder from your favorite card stock.
- Cut two 4.75" x 7" rectangles from the coordinating scrapbook paper
Assembly:
- Glue the paper board covers together, overlapping the spine. Make sure you line up the holes.
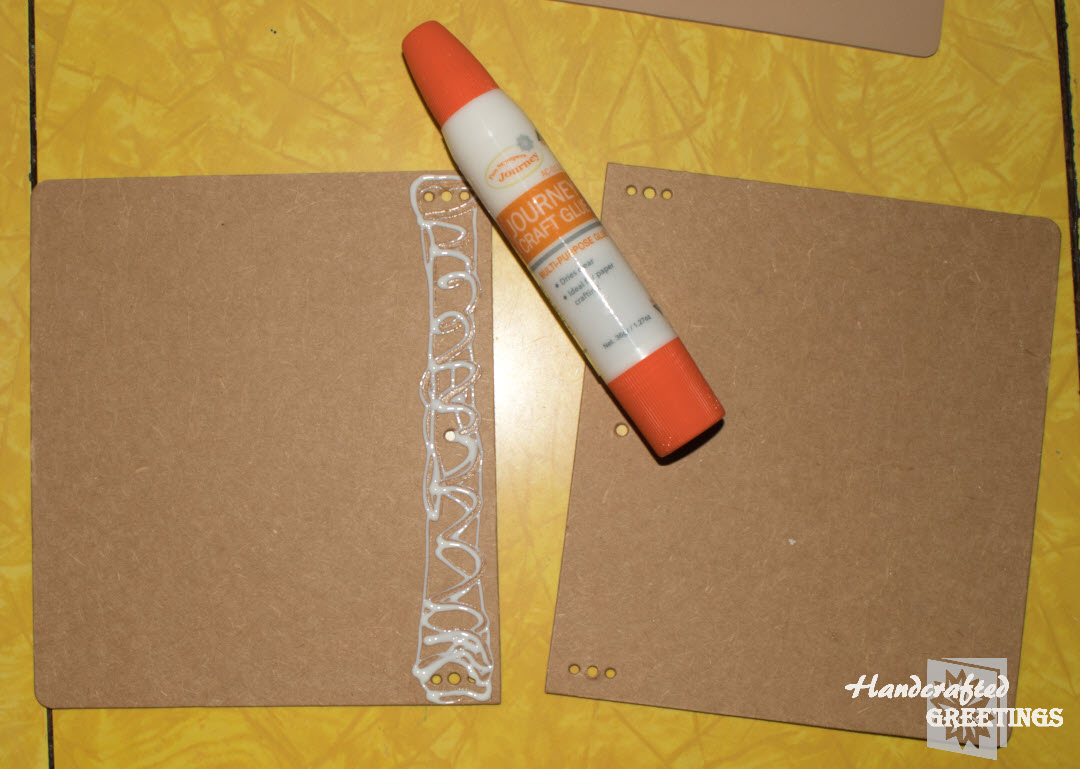
- Set the cover aside to dry
- Emboss the cardstock covers using your favorite embossing folder.

- Ink the embossed cover to add depth.
- After the paper board cover has dried, score it on either side of the spine where the covers overlap.

- Carefully crease the cover on the scorelines so that that the printed side of the paper board faces out.
- Adhere the scrapbook paper to the inside of the front and back covers so that the inside edges line up with the score lines and the rest of the edges overlap the paperboard cover by about 1/2". (refer to video at 9:00)
- Fold and glue the excess to the outside of the covers, clipping the corners along the curves (refer to video at 10:00 )
- Adhere the cardstock covers to the front and back paper board covers but do not adhere them to the spine. (refer to video at 13:30)
- Glue the outer covers together along one edge as shown in the video at 17:25.
- With the inside of the notebook facing up, lace the elastic through the holes in the cover as follows (refer to video at 19:00) :
- Down the the top center hole
- Up through the top left hole
- Down through the bottom left hole
- Up through the bottom center hole
- Down through the top center hole (this should be the second stitch through that hole)
- Up through the top right hole
- Down through the bottom right hole
- Up through the bottom center hole (this should be the second stitch through that hole)
- Adjust the elastic tension and tie the ends.
- Using about 12 inches of elastic, pull a loop thorugh the hole in the center of the spine so that the loop is on the outside and the ends are on the inside (refer to video at 24:25)
- Make sure the loop is long enough to go around the Notebook.
- Tie the ends on the inside.
- Adhere the pocket to the inside front cover.
- Adhere the pen holder to the inside back cover.
- Cut pages using the die, or cut some paper 5 1/2" high by 7" wide and score and fold at 3 1/2". If you cut your own pages, be sure to put a small notch at the top and bottom of the center fold.
*This post contains affiliate links. At no additional cost to you, I may be paid a small commission if you purchase items using these links - see my disclosure for details.
No comments:
Post a Comment