Friday, January 4, 2008

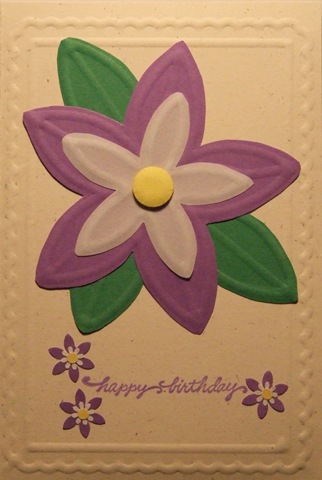
Quick Embossed Birthday Card

This is a very quick card I put together today.

embossed birthday card

Here is what I used to make it:

  • Majestic Embossing Board from The Glitter Girls
  • Embossing tool
  • Stampendous Happy Birthday stamp
  • Paper Shapers flower and circle punches

The little flowers were a cover-up for a slight stamping mishap.  I wasn't about to throw the card out just because of a little ink spot!

Thursday, January 3, 2008

Anniversary

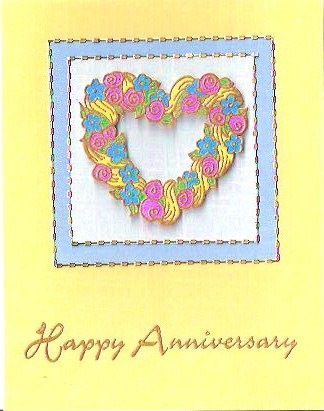
I made this card today for my parents' 52nd anniversary. The stamp is from a Valentine's collection I bought several years ago. I stamped the floral heart wreath with pigment ink and embossed it with gold embossing poweder. Then I colored it in with watercolor pens and cut it out. I used my cutter bee precision tip scissors to cut out the inside. After cutting it out, I mounted the heart with foam squares so that it stands out from the card. I really like the look of the watercolor pens with the gold embossing. It reminds me of stained glass.

Anniversary001

Get Well Book

My sister-in-law had surgery recently, and a get well card just didn't seem like enough so I made a book.

For the cover construction, I followed the instructions at CraftTVWeekly (more or less). You can view the instructions here:

http://sbl.tvweekly.com/player.php?43030134c9d51a817d55521d538909d5y1268

Here is my cover:

getwell001

For the cover title, I found an adorable font at PCCrafter called Patient ID that looks like a hospital ID bracelet. It is available for purchase here:

http://www.pccrafter.com/shopping/ProductDetails.aspx?id=423&s=1

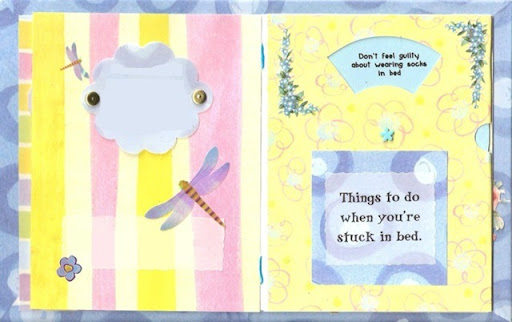
Since I wanted to include a wheel and sliders on two of the pages, I needed a way to hide the back side of the pages. I also needed the pages to be fairly stiff. To solve this, I used three 5 1/2" x 4 1/4" card blanks for the pages and covered them with scrapbook paper as follows so that they formed an accordion fold.

image

After completing the pages I used the page stitching method in the Book Making video from CraftTvWeekly to stitch the valley folds of the pages together.

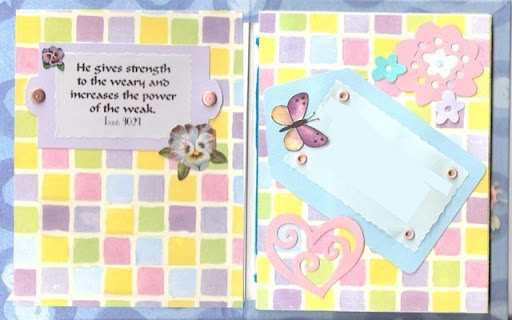
In all, I made eight pages for the book. I have removed most of the actual verses from the scans since they are not mine and I do not have permission to post them here. You can find numerous quotes and sentiments on the web. Scrapbook.com and versalog.com are two very good places to find verses.

getwell002

getwell003

getwell004

getwell005

This was a really fun project. Since this was my first attempt at a book, it did take quite a while to finish it. Hopefully next time it will go much faster.

Saturday, December 29, 2007

Showing Gratitude

Now that Christmas is over and the presents have been opened, it is time to say "Thanks" to those who made this holiday season special.

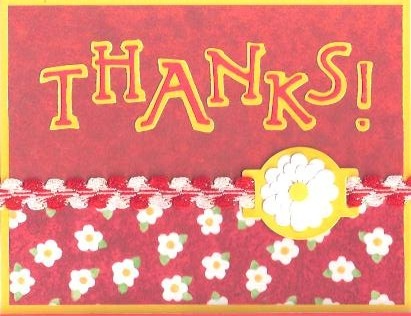
When I sat down to make some thank you cards this afternoon, I decided to make them bright and cheery. The days are very gray and dreary here this time of year.  They are short and the weather is usually overcast and rainy so I wanted to make something to remind me of summer sunshine and flowers.

Here is what I came up with:

Thanks003

Equipment used:

  • Sizzlits Bounce alphabet
  • Cuttlebug Asterisks (Flower)
  • Cuttelbug 2x2 sliders
  • Red  and white trim
  • Xyron Sticker maker
  • Sticky Dots Die-Cut Adhesive
  • Card blank - 4 1/4 x 5 1/2
  • Red and Yellow card stock
  • Red decorative paper - solid and print

Thursday, December 6, 2007

General Instructions for Embroidery Patterns

Occasionally, someone will ask me if I have additional instructions for my embroidery patterns.  The short answer is, No.  I rarely stitch a pattern the same way twice and it is even rarer still that I actually write down how I stitched something.

I realize that answer won't fly with most people, so here is the long answer:

There are many possibilities for stitching most of my patterns. After choosing a pattern, you will need to decide how many layers you want to stitch.  After determining the number of layers, you then need to decide how many holes you want to skip for the first layer.  A lower number of skipped holes will fill in less of the area of the shape and a higher number of skipped holes will fill in more of the area of the shape.

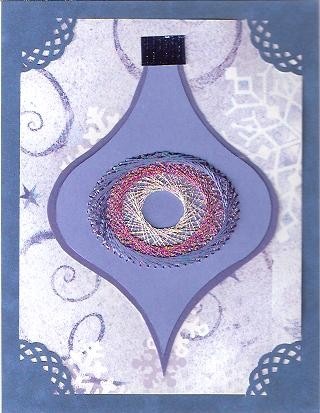
For the following example, I skipped 22 holes for the first layer of stitching, 16 holes for the second layer and 10 holes for the third layer.  The pattern is the medium ornament from http://www.handcraftedgreetings.com/pdf/EmbroideredOrnaments1.pdf. I did the stitching with DMC silver embroidery floss #5283, Metallic pink embroidery floss (brand unknown) and DMC blue rayon embroidery floss #30798.

For other patterns, you may need to skip more or fewer holes depending on the size of the pattern.

pe510
  1. Starting at any hole, bring the needle up from the back of the card to the front (your first "up" stitch).
  2. Count clockwise 22 holes and pass the needle from the front to the back (your first "down" stitch).
  3. Count clockwise ONE hole and stitch up.
  4. Count counter-clockwise 22 holes (this should be the hole right in FRONT of the "up" stitch from step 1) and stitch down.
  5. *Count clockwise one and stitch up.
  6. Count clockwise 22 and stitch down .
  7. Count clockwise one, stitch up.
  8. Count counter-clockwise 22 and stitch down.
  9. Repeat from the * until you have stitched all the way around the pattern.

Your stitching will eventually overlap so that when you are completely finished each hole will have two stitches in it forming a "V."

For subsequent layers, repeat steps 1 through 9, decreasing the number of holes skipped between each stitch for each layer (for example, skip 16 holes for the second layer instead of skipping 22).

Hopefully that all makes sense! Once you get the hang of it, try using the same procedure but skip a different number of holes.

Diamonds, squares and other straight edged shapes are very similar, you just have to make sure that you skip enough holes so that you will not be making two stitches on the same side. For example, if you're stitching a diamond that has 10 holes per side, you should skip at least 11 holes.
Saturday, December 1, 2007

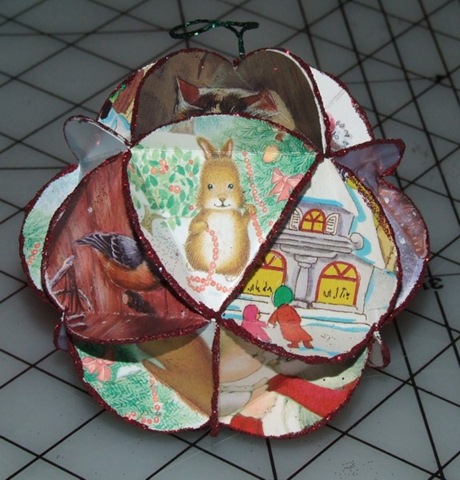
Christmas Ornaments from Old Cards

Do you ever wonder what to do with those old Christmas cards? When I was growing up, my mother taught me how to make ornaments from circles cut from old Christmas cards. It was a great way to keep us busy on rainy winter days.

012

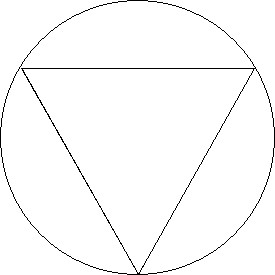
It takes 20 circles to make an ornament. I recommend using a circle cutter like a Coluzzle template, a Fiskars Circle cutter or a Circle Scissor. If you don't have one, you can download the circle and triangle template from: http://www.handcraftedgreetings.com/images/misc/ornamentpattern.jpg

You can find complete instructions at: http://handcraftedgreetings.com/pdf/ChristmasOrnamentInstructions1.pdf