What is a master board?
There are a lot of different ways to make a master board, but basically a master board is a mixed media collage that is made on a large background that is then cut down and used in smaller projects. Creating a master board is fun and can be as simple or as difficult as you want it to be. There are no rules.
Steps to make a master board
Here are the steps I took to make a master board from patterned paper scraps:
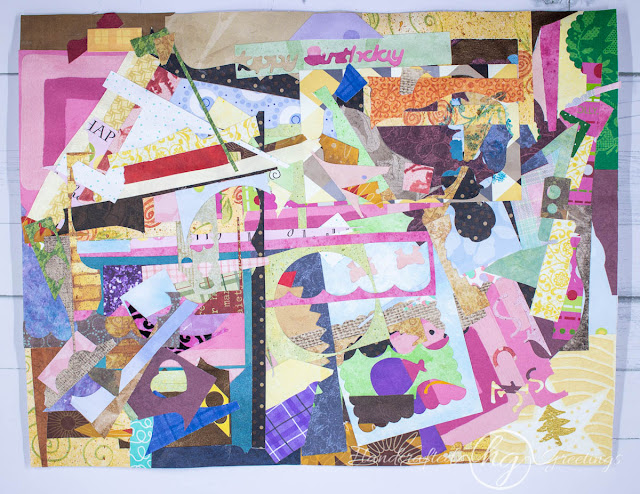
1. Cover a sheet of paper with patterned scraps
This is possibly the most time-consuming step. I used scraps that I would normally discard so some of them are quite small. This step took well over an hour.
I like to completely cover the paper. This results in many areas having multiple layers. Since the finished product is going to be cut apart, it is important to make sure that each layer is completely glued down. I've used Aleene's Tacky Glue* as well as Golden Matte Gel Medium. I recommend wearing gloves for either one to avoid sticky fingers!
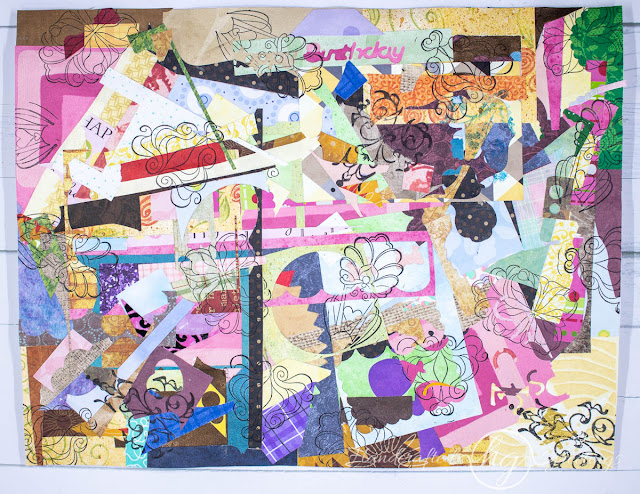
2. Stamp some interesting images or shapes
Dig through your stash for some stamps with interesting shapes or images. I have a set of flourishes and filigrees that I rarely use. I thought it would be perfect for this project. I stamped them with Memento Tuxedo Black ink*, but you could use colors as well.
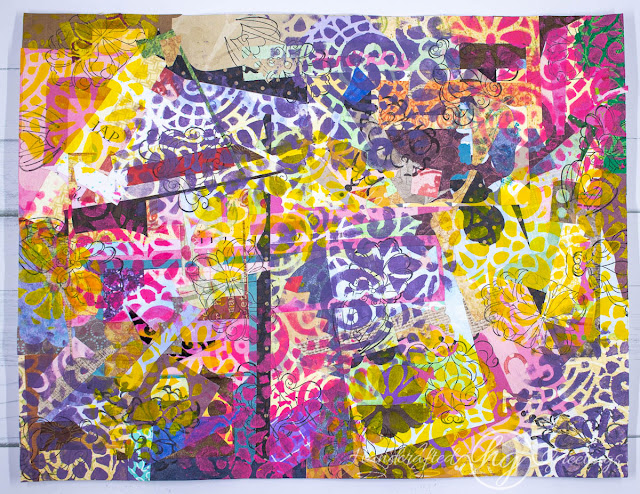
3. Stencils and Acrylics
Next comes the messy part. Grab some sponges, stencils and acrylic paint in multiple colors (I used purple, yellow and hot pink). Stencil several areas with different colors.
I only used one stencil this time (by Balzer Designs), but I often use two or three.
4. Heat Embossing
Wait until your project is completely dry to do this step. While you are waiting for it to dry, collect the following:
- Some pretty stamps (florals, butterflies, birds, etc.)
- Clear embossing ink*
- Gold embossing powder*
- Heat gun*
- Anti-static pad*
I recommend only stamping a few images at a time, and then embossing them. It's easier to keep track of where you have stamped that way.
Once you've finished the embossing, you are done.
That was easy, wasn't it?
What can you do with a master board?
Here are just a few ideas.
- They make great tags
- Die cut leaves or other shapes
- Use it for a card front
- Make a journal cover
- Make a wall-hanging.


No comments:
Post a Comment